
How to Prepare for a Structural Inspection After Storms
After a storm sweeps through your Texas neighborhood, the challenge of protecting your property can feel overwhelming. Houston, Austin, and Dallas homeowners know that comprehensive storm documentation, safe access, and organized records are key for a successful structural inspection. This guide offers practical steps to help you document damage, secure important areas, and create a thorough inspection checklist, making sure you are fully prepared for each phase of the post-storm assessment process.
Table of Contents
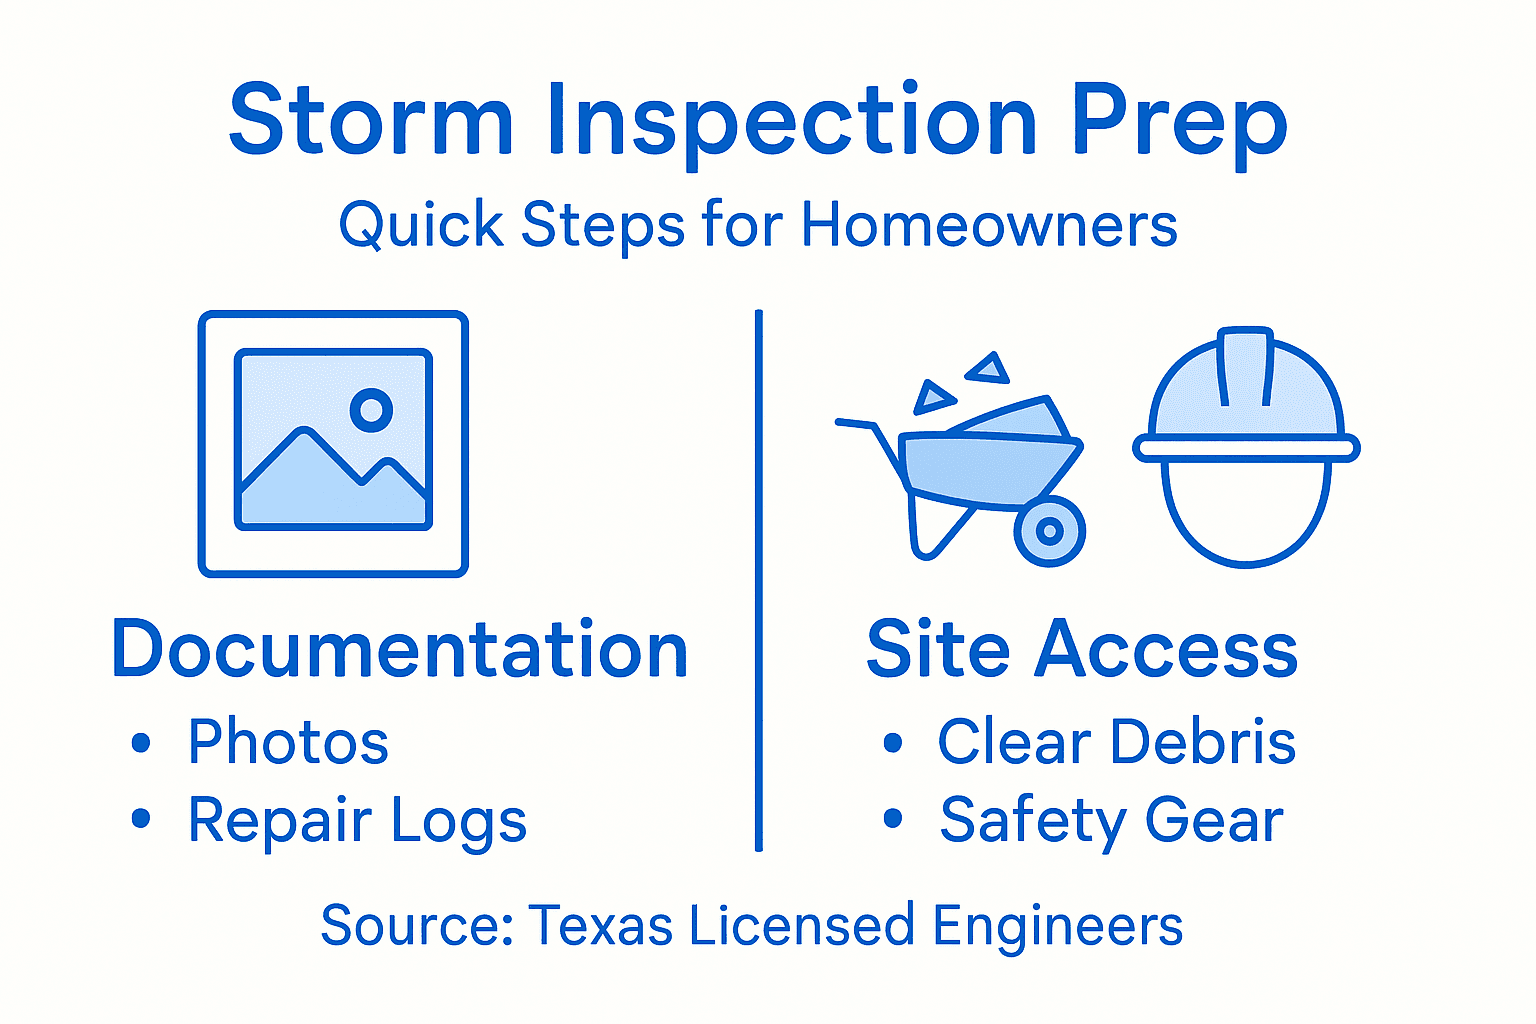
- Step 1: Gather Storm-Related Documentation And Evidence
- Step 2: Secure Access To Critical Structural Areas
- Step 3: Remove Obstructions And Ensure Site Safety
- Step 4: Organize Repair Records And Maintenance History
- Step 5: Verify Readiness With A Pre-Inspection Checklist
Quick Summary
| Key Point | Explanation |
|---|---|
| 1. Document all storm damage thoroughly | Photographic and written records of damage are critical for processing insurance claims and facilitating structural assessments. |
| 2. Ensure safe access for inspectors | Clear pathways and address hazards to allow inspectors to efficiently assess the property’s condition without safety risks. |
| 3. Organize maintenance and repair documentation | Maintaining a comprehensive folder of past repairs and assessments provides essential context for understanding current damage impacts. |
| 4. Use a pre-inspection checklist | A detailed checklist ensures all preparations are completed for the inspector, making the evaluation process smooth and effective. |
| 5. Back up all documentation digitally | Create digital copies of all evidence in multiple locations to protect essential records from loss or damage. |
Step 1: Gather storm-related documentation and evidence
After a significant storm hits your Texas property, your first crucial task is meticulously documenting all storm damage. This preparation will be essential when conducting comprehensive evidence collection for your upcoming structural inspection.
Start by systematically photographing every visible area of damage around your home. Take clear, well-lit images from multiple angles that capture roof damage, foundation cracks, window breakage, structural shifts, water intrusion points, and landscape changes. Digital photographs with timestamps provide powerful visual evidence for insurance claims and engineering assessments. Use your smartphone or digital camera to create a comprehensive visual record.
Collect additional supporting documentation including recent property assessment records, insurance policies, maintenance logs, and any previous structural reports. If possible, gather neighborhood weather reports documenting wind speeds, rainfall amounts, and storm intensity during the event. These records help licensed engineers understand the specific environmental conditions that might have contributed to potential structural damage.
Pro tip: Create a digital backup of all your storm damage documentation in at least two separate locations like cloud storage and an external hard drive to ensure you never lose these critical records.
This table summarizes key types of storm damage evidence and their intended use during structural inspections.
| Evidence Type | Examples | Purpose in Inspection |
|---|---|---|
| Photographic Documentation | Roof, foundation, windows | Visual proof for claims and analysis |
| Property Records | Assessment reports, prior inspections | Establish property condition history |
| Insurance Documents | Policies, claims forms | Verify coverage and past damage |
| Weather Reports | Wind speed, rainfall data | Context for environmental effects |
Step 2: Secure access to critical structural areas
Before a structural inspection can proceed, you must carefully prepare your property by securing and preparing critical access points. Ensuring safe building evaluation procedures requires strategic preparation and safety precautions.
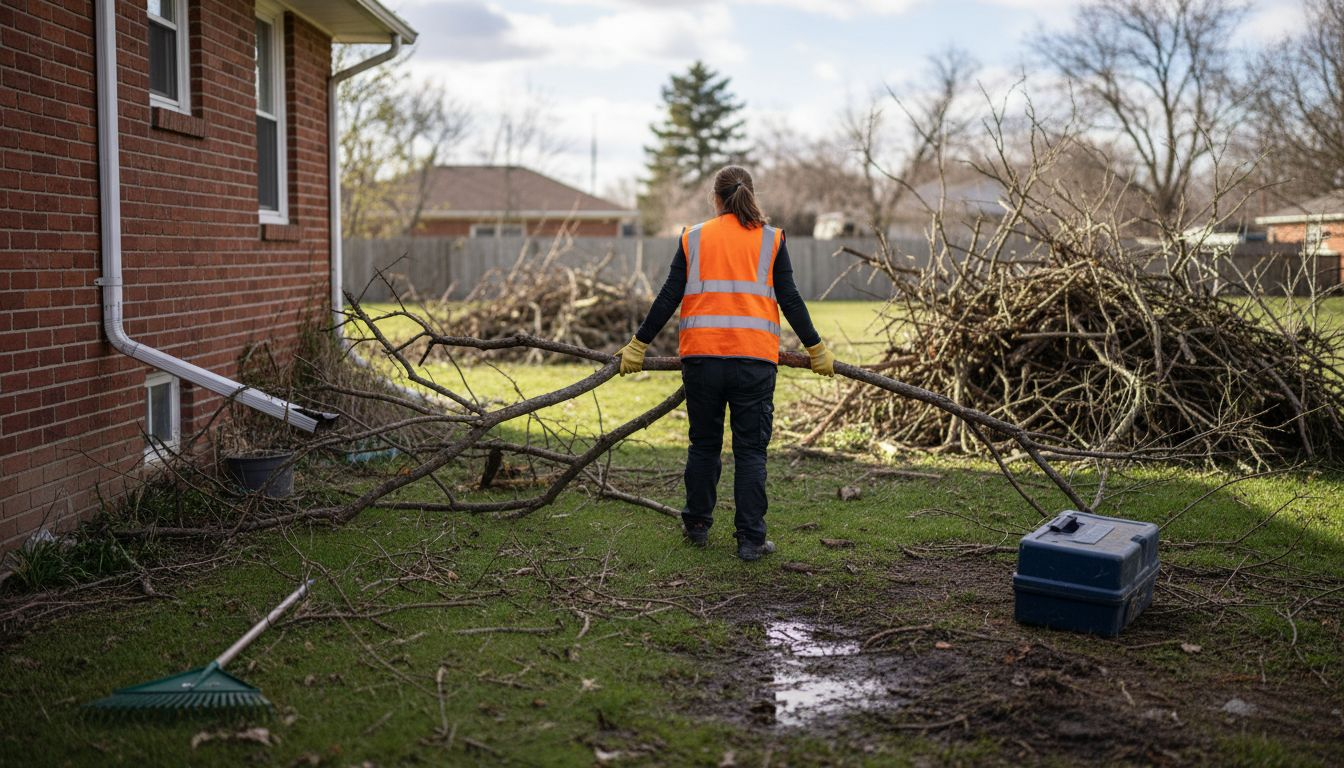
Start by clearing debris and potential hazards from pathways leading to key structural areas like your roof, foundation, and exterior walls. Remove fallen branches, tree limbs, and storm remnants that might block inspector access or create safety risks. Check for exposed electrical wires, unstable ground surfaces, or compromised structural elements that could pose danger. Contact local utility companies to confirm power lines have been safely disconnected or managed in damaged areas.
Coordinate with your structural engineering team to understand specific access requirements. Some inspectors might need ladder access to roof areas, crawl space entry points, or specialized equipment to reach difficult sections. Communicate any known damage or potential access challenges in advance. This preparation helps inspectors plan their evaluation strategy and brings more efficient and comprehensive assessment results.
Pro tip: Photograph all potential access routes and structural damage before the inspection to provide visual documentation and help inspectors understand your property’s condition before they arrive.
Step 3: Remove obstructions and ensure site safety
After storm damage, clearing your property requires careful and systematic safety preparations. Clearing debris safely after disasters involves more than simple cleanup it demands strategic hazard management to protect yourself and future inspectors.
Begin by conducting a thorough visual assessment of your property from a safe distance. Look for hanging branches, exposed electrical wires, structural debris, and potential ground instabilities that could create dangerous conditions. Wear protective gear including sturdy work boots, heavy gloves, safety glasses, and a hard hat when approaching potentially compromised areas. Remove loose debris systematically starting from the perimeter and working inward. Use tools like rakes, shovels, and pruning equipment to clear branches, fallen limbs, and scattered storm remnants. Pay special attention to areas around your home foundation, roof edges, and walkways where debris might have accumulated.
Contact local utility companies to confirm power lines have been safely disconnected in damaged zones. If you encounter significant structural damage or hazardous materials, do not attempt to remove them yourself. Instead, hire professional debris removal services experienced in post storm cleanup who understand proper safety protocols and have appropriate equipment to handle complex removal scenarios.
Pro tip: Take photographs of your cleanup process and debris removal to document site conditions for insurance and engineering assessment purposes.
Here is a quick reference comparing key safety gear and tools for post-storm property cleanup purposes.
| Item | Typical Use | Safety Benefit |
|---|---|---|
| Work Boots | Walking debris-laden areas | Protect feet from sharp objects |
| Heavy Gloves | Handling branches, debris | Prevent hand injuries |
| Hard Hat | Navigating unstable zones | Guard against falling objects |
| Safety Glasses | Clearing vegetation debris | Shield eyes from hazards |
| Rake/Shovel | Removing loose storm debris | Reduce manual handling risks |
Step 4: Organize repair records and maintenance history
Preparing for a structural inspection requires comprehensive documentation of your property’s repair and maintenance background. Documenting building maintenance history provides critical context for understanding potential storm damage impacts.
Create a comprehensive digital and physical folder system to organize all relevant documentation. Gather and categorize past repair permits, contractor invoices, maintenance logs, previous structural assessments, and any engineering reports. Include dates of repairs, specific work completed, contractor details, and associated costs. Scan physical documents and create digital backups to ensure you have multiple preservation methods. Arrange documents chronologically and cross reference them by repair type foundation work, roof repairs, plumbing updates, electrical modifications to make retrieval easier for inspectors.
Pay special attention to documentation related to previous storm damage repairs or structural modifications. Include photographs documenting past repairs, insurance claims, and any professional assessments conducted before the recent storm. If you have blueprints or original construction documents these can provide valuable baseline information about your property’s original structural configuration. Organize these materials in a clear logical manner that allows inspectors to quickly understand your property’s maintenance and repair history.
Pro tip: Use a digital spreadsheet to create a master log tracking all repairs with dates hyperlinks to scanned documents and key contact information for past contractors.
Step 5: Verify readiness with a pre-inspection checklist
Before your structural inspection, creating a comprehensive preparation strategy is crucial for a smooth and efficient assessment. Pre-inspection building safety protocols help ensure you have everything in place for a thorough evaluation.
Develop a detailed checklist that covers all critical preparation aspects. Start by confirming you have all necessary documentation readily available including repair records, insurance claims, previous assessments, and storm damage photographs. Verify site access by clearing pathways and removing potential obstacles that might impede the inspector’s movement. Check that protective areas are secure and any hazardous materials or unstable structures are clearly marked. Create a digital and physical copy of your checklist with checkboxes to track your progress systematically.
Review your documentation packet to ensure all relevant information is organized and easily accessible. This includes recent property assessment records, maintenance logs, original construction blueprints, and any prior engineering reports. Prepare a brief written summary highlighting key structural changes or storm damage details that might not be immediately visible. Have contact information for previous contractors or repair professionals available in case the inspector needs additional context about past work on your property.
Pro tip: Walk through your property the day before the inspection with your pre inspection checklist and take smartphone photos documenting your preparation to demonstrate your thoroughness.
Expert Help for Preparing Your Storm-Damaged Property
Facing the challenge of preparing your Texas home or business for a structural inspection after a storm can feel overwhelming. From gathering thorough documentation to clearing debris safely and organizing repair records every step is critical to ensure inspectors fully understand your property’s condition and the impact of storm damage. Key hurdles include securing safe access, managing hazardous areas, and presenting clear, well-organized evidence to support accurate evaluations.
At Texas Licensed Engineers, we specialize in guiding residential and commercial customers through these exact challenges. Our experienced team offers trusted structural and foundation inspections, detailed forensic investigations, and comprehensive engineering services designed to make your post-storm inspection process smooth and successful. Learn more about the full scope of our solutions in the TLE Archives – Texas Licensed Engineers | Residential & Commercial and see how our expertise can safeguard your property investment from hidden damage.

Don’t wait until complications arise. Start your preparation now with expert support from Texas Licensed Engineers. Contact us today to schedule your inspection or receive a consultation that ensures no detail is missed. Protect your home or business with confidence and keep your recovery on track.
Frequently Asked Questions
What should I document after a storm before a structural inspection?
After a storm, document all visible damage to your property, including photographs of the roof, foundation, and any structural shifts. Systematically photograph each damaged area from multiple angles to create a comprehensive visual record.
How can I ensure safe access to my property for inspectors?
To ensure safe access, clear debris and hazards from paths leading to critical structural areas like the roof and foundation. Remove any fallen branches or unstable materials and confirm there are no exposed electrical wires in the vicinity.
What safety precautions should I take during storm debris cleanup?
Wear protective gear such as work boots, heavy gloves, a hard hat, and safety glasses while clearing debris after a storm. Begin removing hazards from the perimeter of your property and work inward, addressing potential dangers methodically.
How should I organize my repair and maintenance records for the inspection?
Organize repair and maintenance records by creating a digital and physical folder system that categorizes documentation. Include details like dates, types of repairs, and photographs, and ensure all documents are backed up for easy access during the inspection.
What should I include in a pre-inspection checklist?
A pre-inspection checklist should include confirming the availability of all necessary documentation, site access, and clear pathways for the inspector. Also, ensure any hazardous materials are marked, and consider preparing a summary of relevant structural changes to assist the inspector.
How soon should I prepare my documentation after the storm?
You should start preparing your documentation as soon as possible after the storm, ideally within a few days. This prompt action allows you to collect evidence while it is still fresh and ensures comprehensive records for your upcoming inspection.
Recommended
- Structural Inspection Process: Safeguarding Texas Properties – Texas Licensed Engineers | Residential & Commercial
- 7 Types of Structural Inspections Every Texas Property Needs – Texas Licensed Engineers | Residential & Commercial
- 7 Essential Steps for a Structural Inspection Checklist – Texas Licensed Engineers | Residential & Commercial
- Structural Inspection Guide: Ensure Safe Buildings Easily – Florida Licensed Engineers
